Creating a Scenario Version

Contents
Throughout the Budgeting Process, there will be times when you will want to create a copy or "version" of a Scenario. The obvious times you would create a new version would be when you transition from a major state within the process such as Modeling to Proposed, Proposed to Approved, or Approved to Adopted. Other times when this may also be needed would be to preserve the state of a Scenario and explore a different set of Assumptions or to address an unanticipated change in the budget goals such as a revenue shortfall, facility consolidations, or possibly an unexpected windfall. Creating a Scenario version is very much like saving a copy of a spreadsheet to a new file name to preserve its state before making changes, knowing you can always get back to the saved file.
A Scenario version can be created at any point in your budget process. A Scenario is a complete, self contained model of your financial budget, generally having no connection with any other Scenario other than the Scenario it was created from or its "origin". When a Scenario version is created, a unique sequence number is assigned within the fiscal year it is created in. Scenarios also have a status to indicate their point and purpose within the Budgeting Process. For additional information see the section on The Scenario.
When a version is created, all data, assumptions, factors and settings from the current Scenario are copied to a new Scenario with the exception of the audit details contained within the current Scenario. Even though the audit details are not copied to the new Scenario, because a relationship to the the existing Scenario is maintained, ESP™ allows them to be viewed using the Scenario Audit.
The types of Scenario versions you may create within ESP™ are described in the previous section Scenario Explorer.

Create Scenario Version
![]() Create a Scenario Version
Create a Scenario Version
1.If Scenario Explorer is not currently open, click the Scenario Explorer ![]() button from the main toolbar or select File > Open Scenario from the Main Menu.
button from the main toolbar or select File > Open Scenario from the Main Menu.
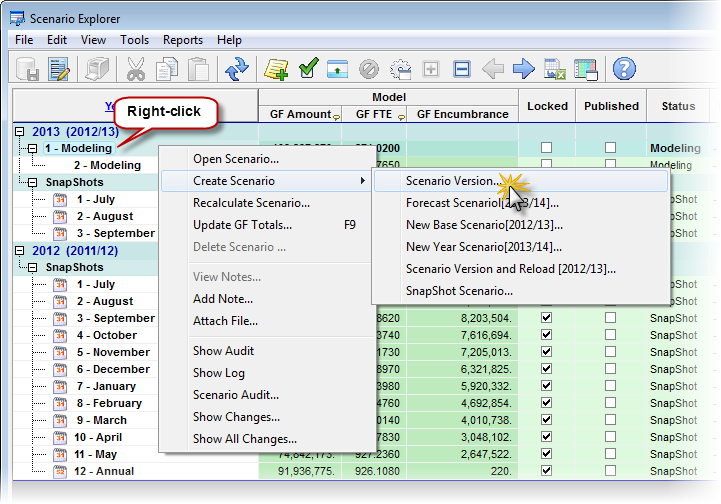
2.From the Scenario Tree, right-click on the Scenario you want to use as the base for your new version, and then select Create Scenario > Scenario Version.
|
3.You may receive a message stating that the there may be pending calculations that impact the current Scenario and needs to be recalculated before a new version can be created. You may want to check with the person who created the Scenario to see if it is OK to go ahead and recalculate it. You may also select another Scenario in the list to create a Scenario from. If you do not see this message, skip to Step 5.
4.If you chose to recalculate the Scenario before creating the version, you will receive another warning message from the Recalculate process indicating that changes will be made to the current Scenario. Click OK.
5.Enter a note in the Apply Adjustments text box (at least 10 characters), and then click Apply to finish saving the record.
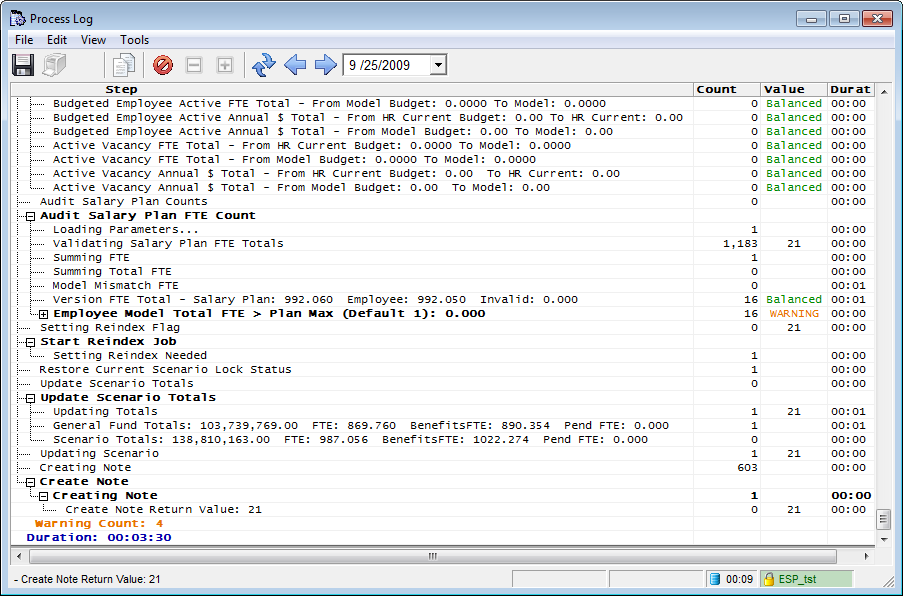
6.As the process begins you can see its progress at the bottom the Scenario Explorer on the Status line. You can also view the entire Process Log by clicking the View Process Log button on the main toolbar or View>Process Log ![]() .
.
7.The Process Log captures the status and diagnostic messages created while the new Scenario is created. If any abnormal conditions or errors are detected during the process, they will be identified in the Value column with the label ERROR or WARNING. As long as there are no items with a value of ERROR, the process completed successfully. You can verify there were no ERROR's in the process by looking at the process summary at the end of the log.
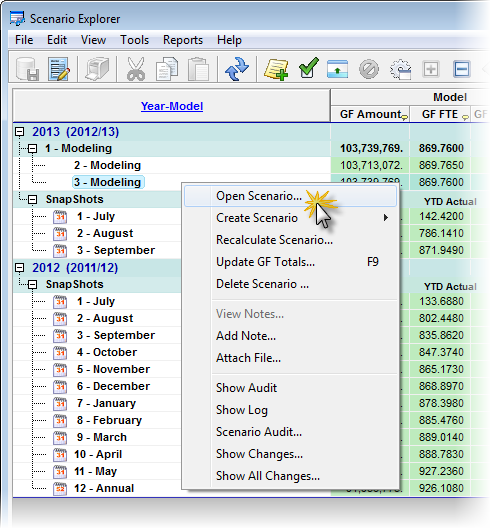
8.After the process is complete you can close the Process Log if it was open, and you should see the new Scenario in the Scenario grid. Double-click it or use the context menu to open the new Scenario or Tools>Open Scenario.
![]() Results:
Results:
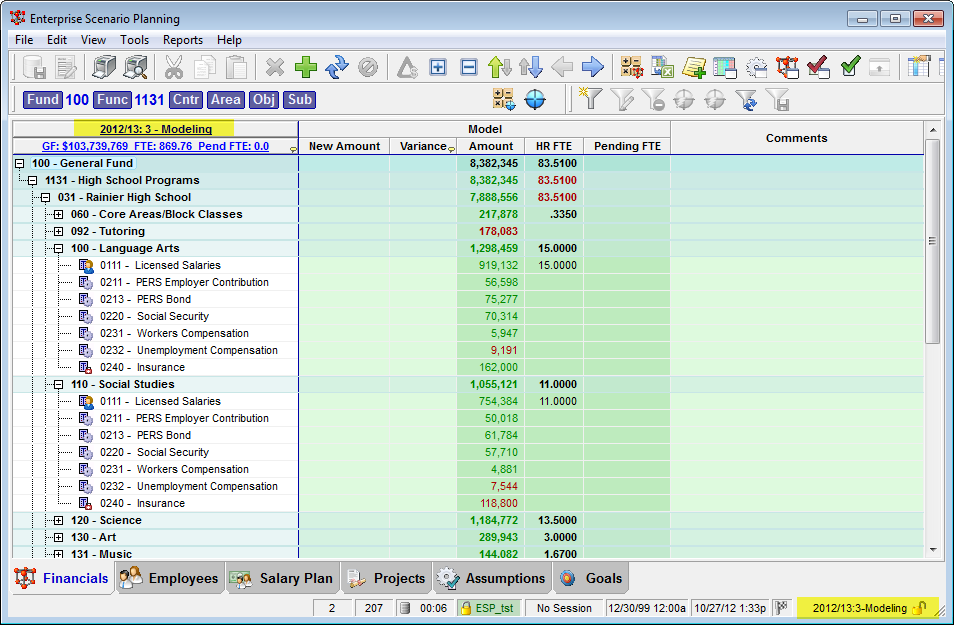
1.The new Scenario is open in the main window with its version number and label shown in the header and at the bottom right in the status line.